

Custom Subaru WRX Headlights with RGB Lighting
- Jul 13, 2023
- 3 min read
Updated: Jan 25, 2024
I took a lot of time, as I do most of the time deciding which headlights to do. I wanted something unique that looked like it belongs on my WRX. I even purchased multiple headlights to complete the project. There was a few mistakes and a bit of wasted money, which is always unfortunate, but these headlights were worth it all.
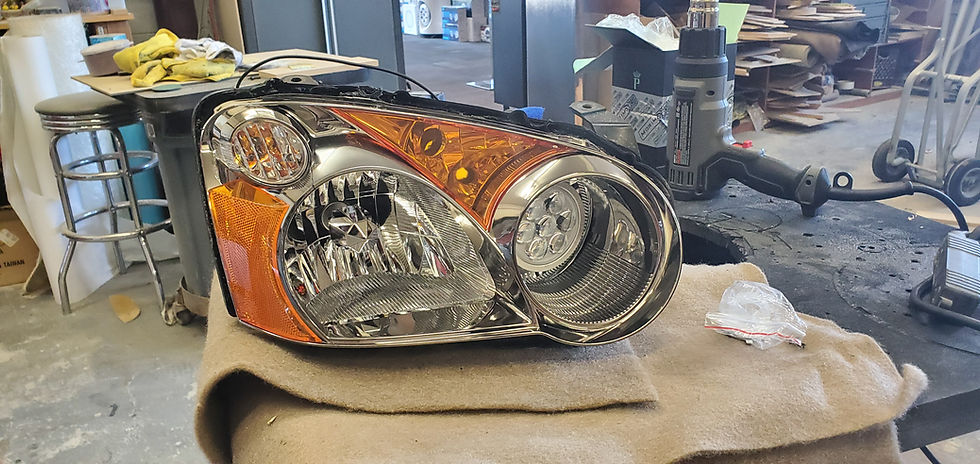
This is a mostly stock OEM chrome headlight, with the exception of the retrofit parts I purchased from the guys at Circuit demon. This includes the high beam fitted in the stock housing. From there, I had decided that I wanted to do something unique to the OEM amber reflectors. So I took the reflectors, along with a drawing of what I had in mind to a shop that had a laser cutter. They told me that would be super easy for them to do what I had shown them. So, I left these pieces with them, and after waiting 2 weeks I finally received the pieces the had cut for me. But what they had given me was an absolute mess.
With the Scrapefest car show being only a few days away, and having ruined parts, I scrambled to find another set of amber headlight's parts. Which was impossible. I bought a completely different set of headlights, just for those reflectors. Which I then cut by hand on a scroll saw. Which was super tedious but worth it in the end.
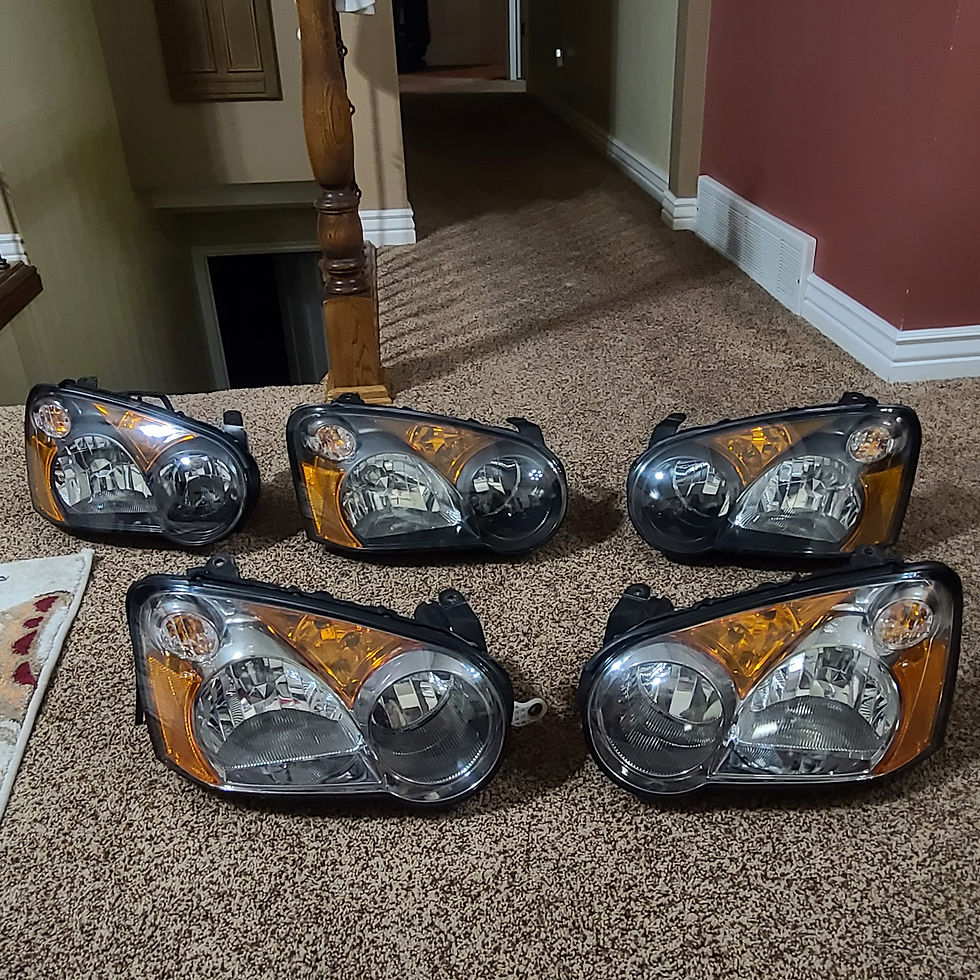
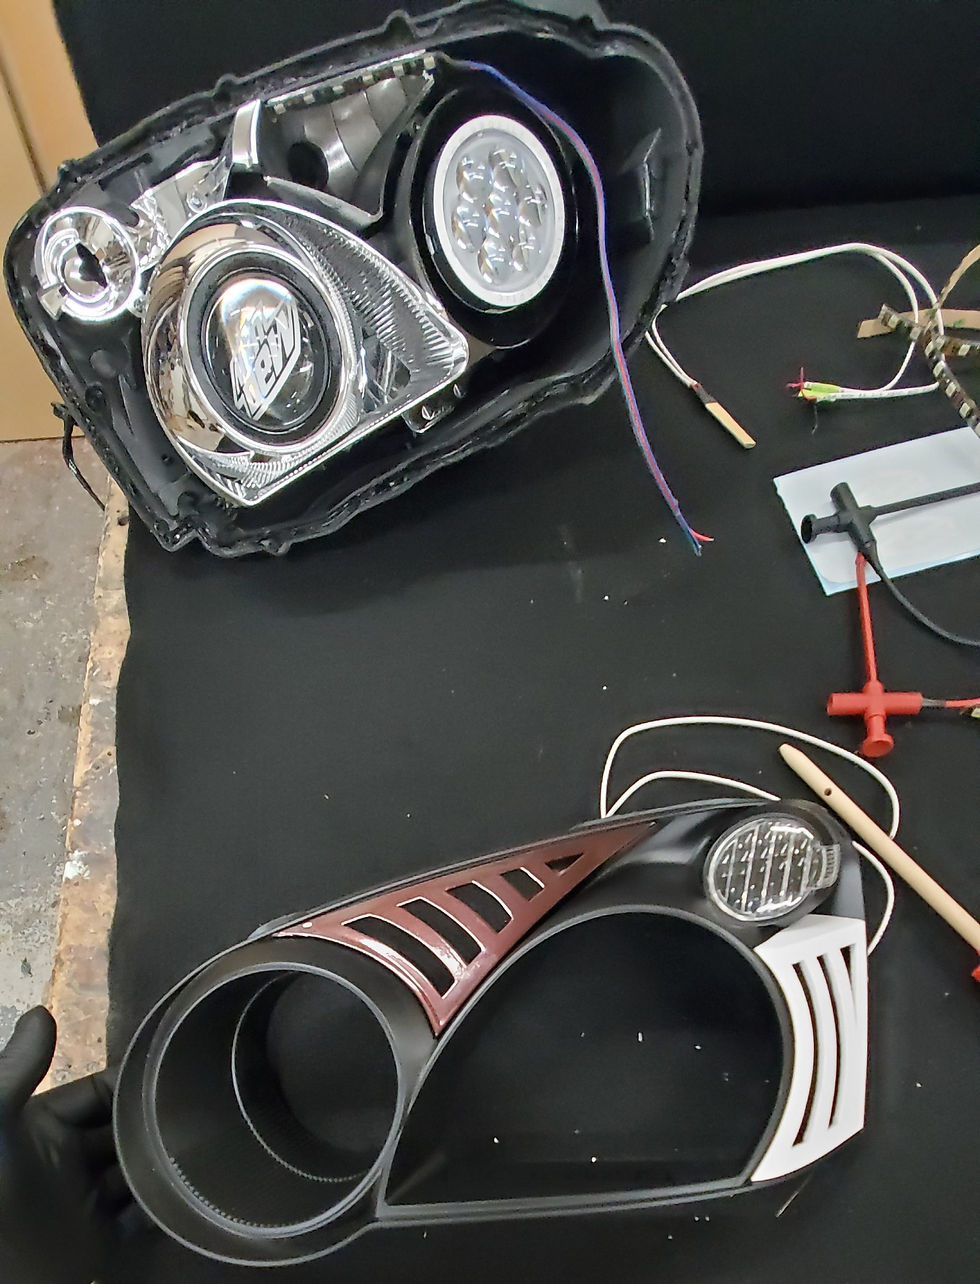
This is a picture of all the headlights I bought to build the custom set of headlights. I bought one set just for the amber pieces that I desperately needed that I mentioned earlier. The other set was the brand new set I bought because I wanted perfect lenses for this new custom headlight build!
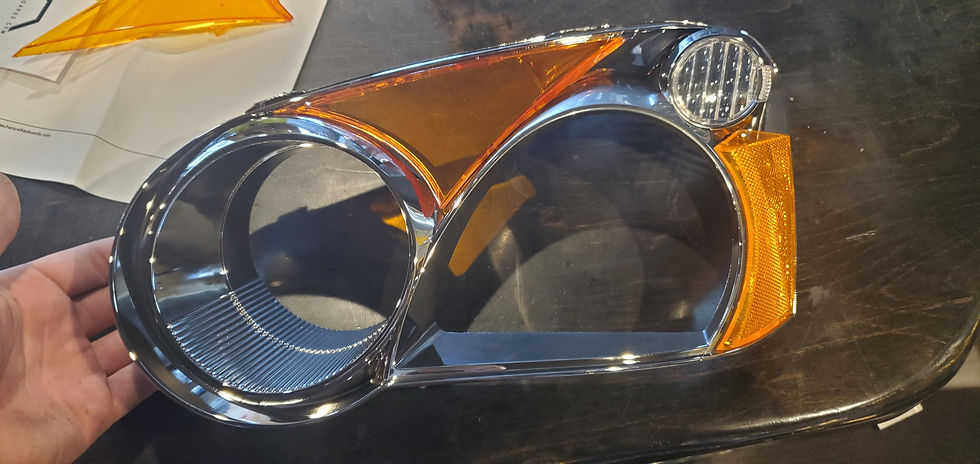
This is the original headlight housing untouched with the amber reflectors still un modified. Most people just remove these amber reflectors all together because they just don't look custom. Also there is not a whole lot you can do to these because light still needs to shine through because the center one is the turn signal for the car.
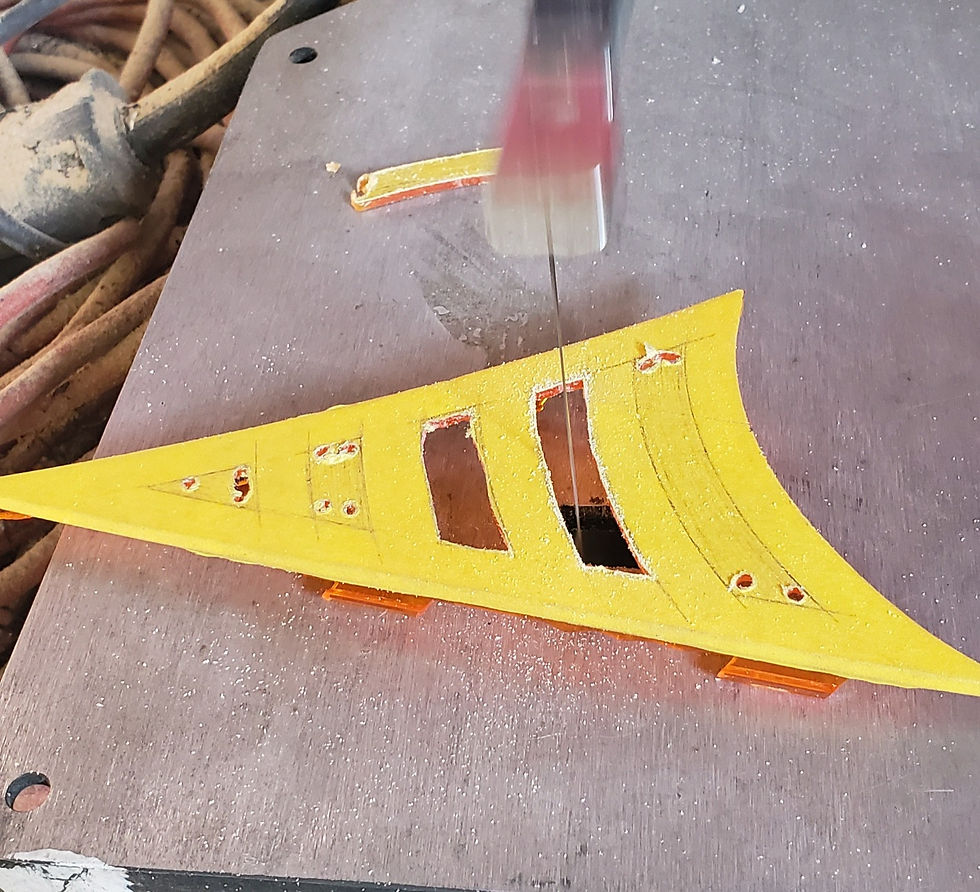
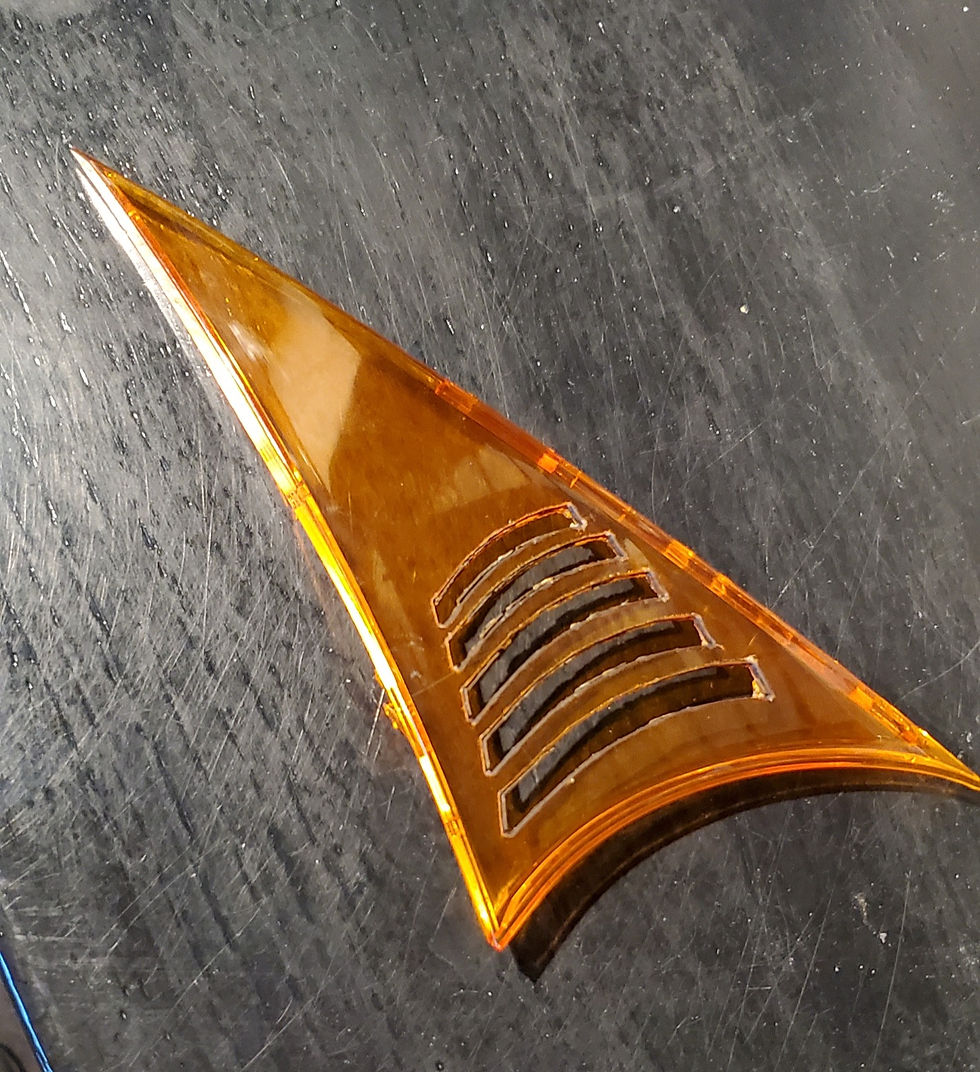
Here is one of the reflectors I cut on the scroll saw along with my drawing of the design. For those of you who have not used a scroll saw, I will explain what is going on here. I had to drill these holes in the picture for two purposes. The first being I need a starting point to drop the saw blade into. I had to take the saw apart for each cut, drop the blade in, then reassemble the saw. These also served a purpose as a spot to pivot the piece on those sharp cuts so I don't twist and break the saw blade. Scroll saw blades are very thin and delicate which causes them to not handle much abuse.
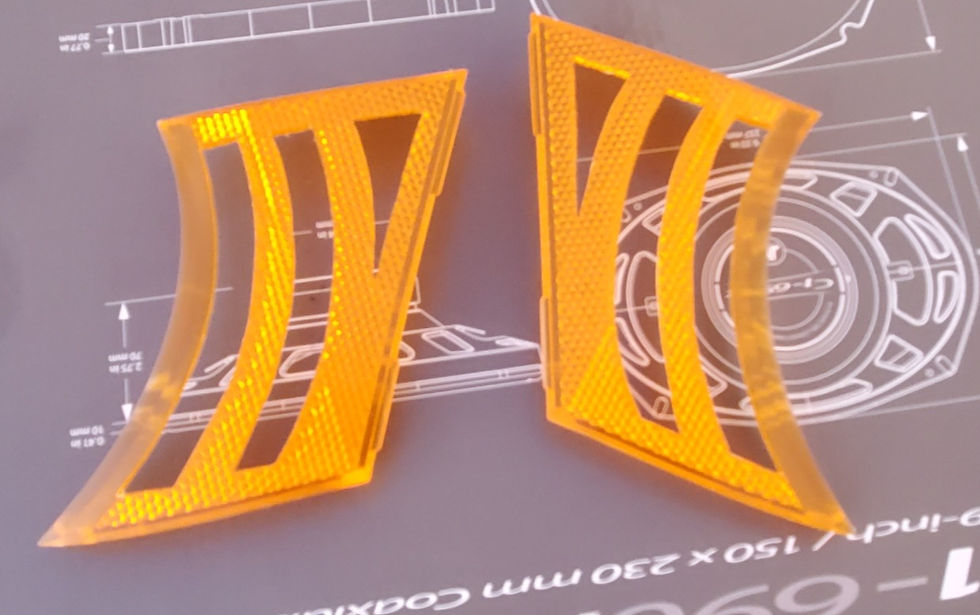
This is the finished picture of the side reflectors after being hand cut !
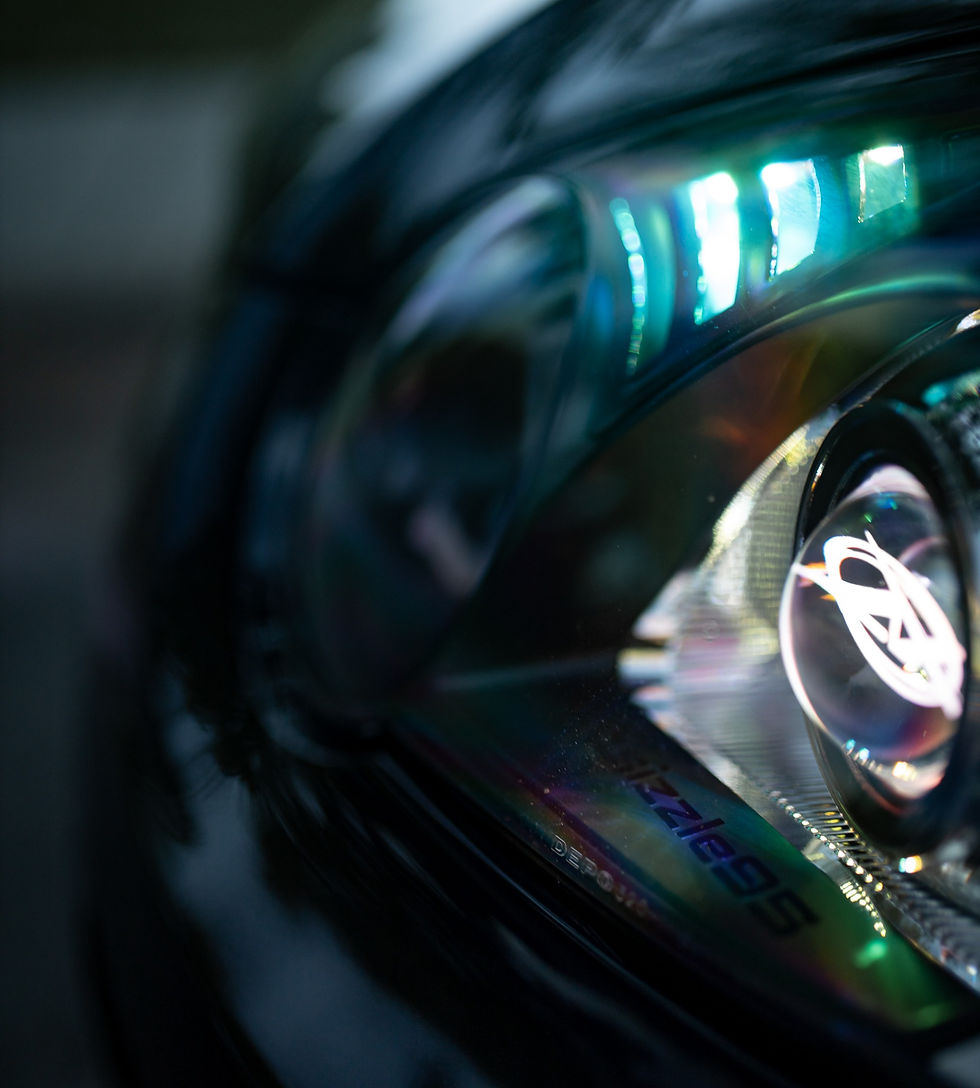
I slapped some paint, matching vinyl to the rest of my car, which was maroon at the time, and some RGB LEDs. Along with some sweet "@csizzle95" stickers which I stayed up until 4 am cutting. And just in time for Scrapefest, they were finally done!

This project was definitely lots of hours and had a few setbacks which were frustrating, but the end product of these headlights is worth it for sure! I completed these headlights several years ago and since then I did have the vinyl wrapped piece paint matched to my car. And still today I take such pride in them.


Comments